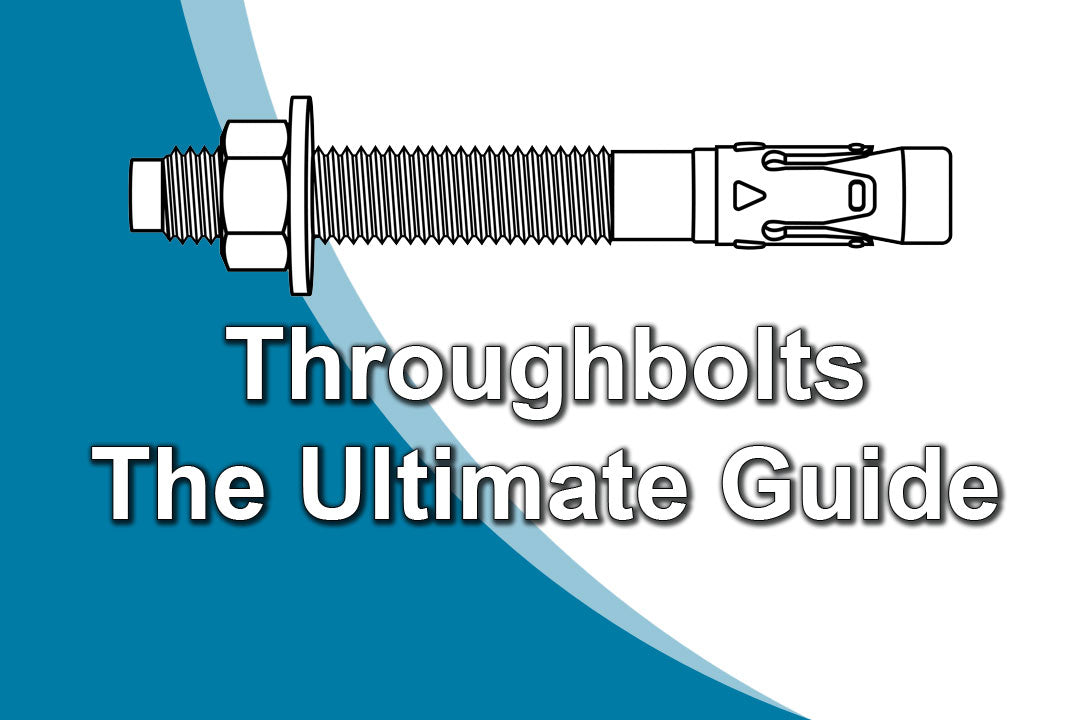
Whether you're a weekend warrior or a seasoned builder, understanding through bolts is crucial for successful DIY projects. These fasteners, also known as anchor bolts or expansion bolts, are essential for securing heavy loads in concrete and masonry.
Parts of a Through Bolt
Through bolts consist of three key components:
- An expansion sleeve (typically made of stainless steel or B2P steel).
- A threaded rod
- A nut with a washer
When tightened, the through bolt expands within the base material, creating a friction-based connection that can withstand significant loads and shear forces.
Indoor Applications
For indoor projects, zinc-plated or electro-galvanised through bolts are often sufficient. These offer adequate corrosion resistance for dry, controlled environments. However, if you're working in areas prone to moisture (like bathrooms or basements), consider using stainless steel through bolts for added protection.
Outdoor Applications
Outdoor environments pose greater challenges due to exposure to moisture, temperature fluctuations, and UV radiation. For these applications, opt for:
- A4 or A2 (316 or 304 grade) stainless steel through bolts for general outdoor use
- HCR (Highly Corrosion Resistant) 1.4529 stainless steel bolts for coastal areas or highly corrosive environments
The higher nickel and molybdenum content in these materials provides superior corrosion resistance, ensuring longevity in harsh conditions.
Selecting the Right Drill Bit Size
Choosing the correct drill bit size is critical for proper bolt installation. Unlike the general advice to "use the manufacturer's recommended size," let's break down the process:
Determine the bolt diameter:
- Measure the shank diameter (not including threads) of your through bolt.
For clearance holes (where the bolt passes through freely):
- For bolts under 1/2 inch (12.7mm): Choose a drill bit 1/64 inch (0.4mm) larger than the bolt diameter.
- For bolts 1/2 inch (12.7mm) and larger: Select a drill bit 1/32 inch (0.8mm) larger than the bolt diameter.
For the expansion zone (where the bolt anchors):
Use a drill bit exactly matching the bolt's diameter. For example, for a 12mm through bolt, use a 12mm masonry drill bit.
Remember, when drilling into concrete or masonry, the hole may end up slightly larger due to the nature of the material and the hammer action of the drill. Always start with a pilot hole and gradually increase the size if necessary.
Installation Tips for Success
- Measure and mark your drilling points accurately, ensuring you maintain proper edge distances (typically 6 times the bolt diameter).
- Clean the drilled hole thoroughly using a brush and compressed air to remove all debris.
- Insert the through bolt, ensuring it's perpendicular to the surface. The black marking on the anchor should be flush with the concrete surface.
- Use a torque wrench to tighten the nut to the manufacturer's specified torque setting. This ensures proper expansion without over-tightening.
- After installation, verify that the bolt has expanded correctly within the base material by gently tugging on the fixture.
Common Pitfalls to Avoid
- Placing bolts too close to edges: This can cause concrete splitting. Maintain a minimum edge distance of 6 times the bolt diameter.
- Installing bolts at an angle: Always drill and insert bolts perpendicular to the surface for maximum strength.
- Ignoring load distribution: Ensure attachment points are chosen to evenly distribute the load across multiple bolts.
- Overlooking material thickness: The combined thickness of the material being fastened and the concrete surface should not exceed the usable length of the bolt.
By understanding these technical aspects of through bolts, you'll be well-equipped to tackle a wide range of DIY projects with confidence and precision. Remember, when in doubt about load calculations or specific applications, consult a structural engineer or the bolt manufacturer's technical support team.

